Back from another long blogging break- I haven’t stopped cooking and have so many recipes I would love to share but life has taken some interesting, yet exciting, turns. I am homeschooling my 4 children this year and that has been quite the adventure to figure things out and adjust to a new routine. And, surprise, I am 32 weeks along with my 5th child, another beautiful little boy, so us girls are officially out numbered! Being “a bit” older this time around has been a challenge and the pregnancy has not been the smoothest, so I have slowed down on a lot of things, this being one of them. But I wanted to share this great recipe I have for pizza dough. It made a huge difference in pizza night for us 🙂
I have tried many, many pizza dough recipes over the years and have come a long way in my journey to liking homemade pizza versus the take out pizza. With this recipe, I can officially say I prefer homemade. The recipe is quick, simple and takes little effort, read….. just mixing ingredients and no kneading!! It can be made up to 3 days in advance, or with the addition of a little extra yeast, on the day you need it. That’s a huge plus- to be able to make ahead when I have time. And if these reasons aren’t enough, it is honestly the best tasting pizza dough I have tried, and cooks up with a great texture- crispy exterior and chewy interior. The recipe as written makes two 12 inch round pizzas, but I usually make 1 1/2 batch of the recipe and make 3 to feed my bunch. The recipe is from Peter Reinhart (Love so many of his recipes) and I was introduced to it via a tutorial on Craftsy (no I am not getting paid for this, just passing info along). This tutorial is actually free so head on over to the site if you want more detailed information and some videos! The only adjustments I made is to make my pizzas a different size (found it worked better) and adjust the ingredients for making it the same day.
Below I am including some pictures of the process to hopefully help make it more clear 🙂
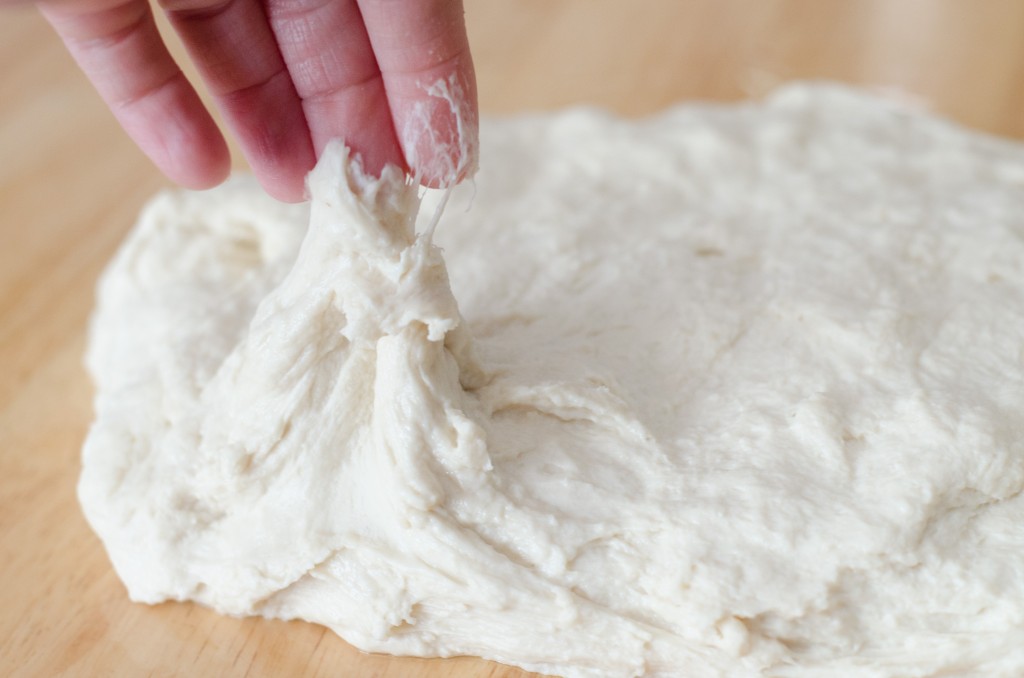
This is about how sticky the dough is coming out of the mixer bowl. It may still have a few lumpy spots.
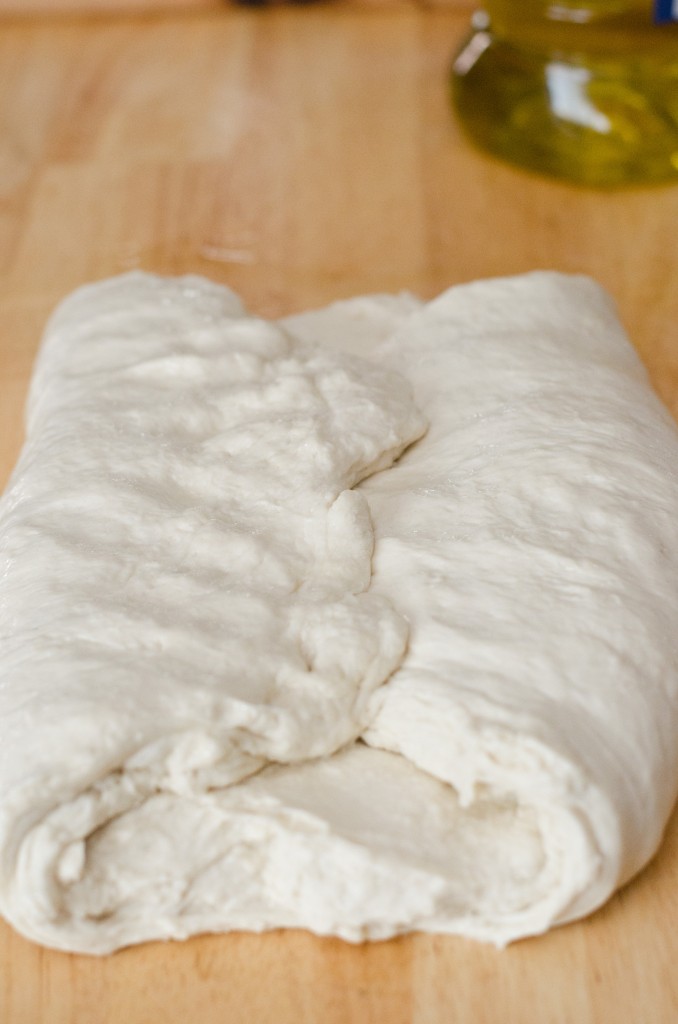
The folding process includes stretching the dough into a rectangle, then you fold each side in like below. I will work some of the lumpy, unmixed spots at this point into the dough.
Next you fold in the opposite sides, forming almost a ball or square. At this point, I flip the dough over and tighten it into a ball.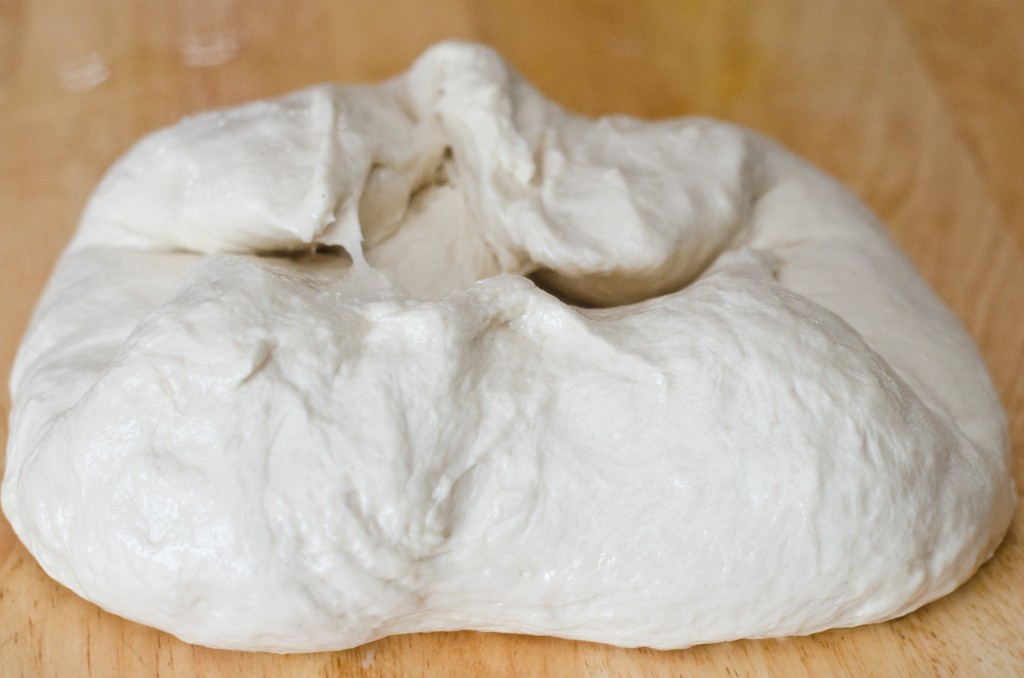
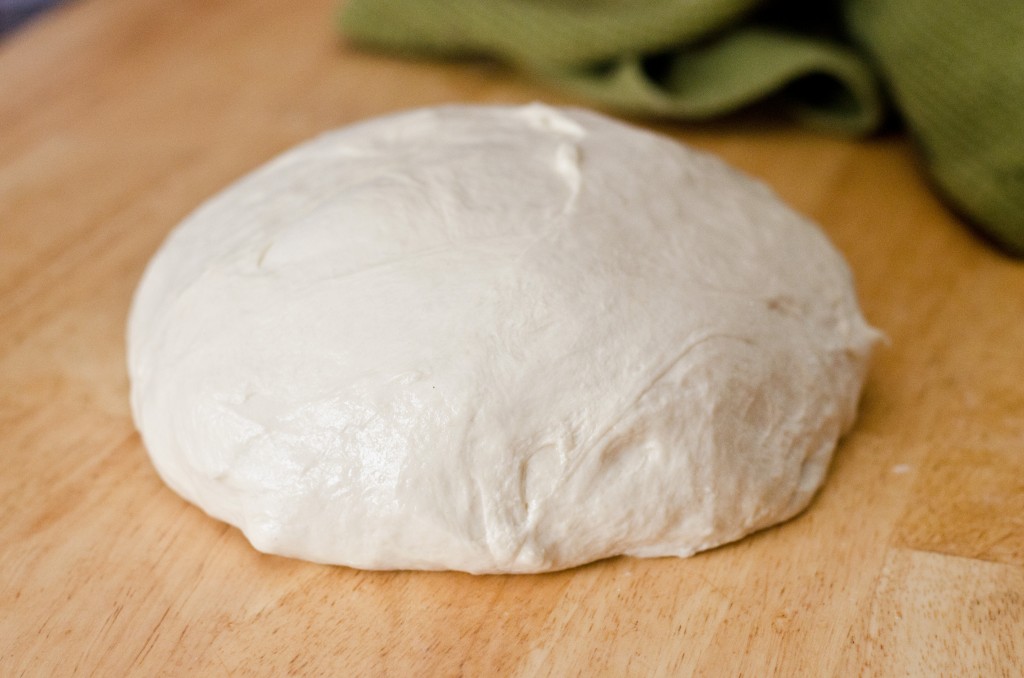
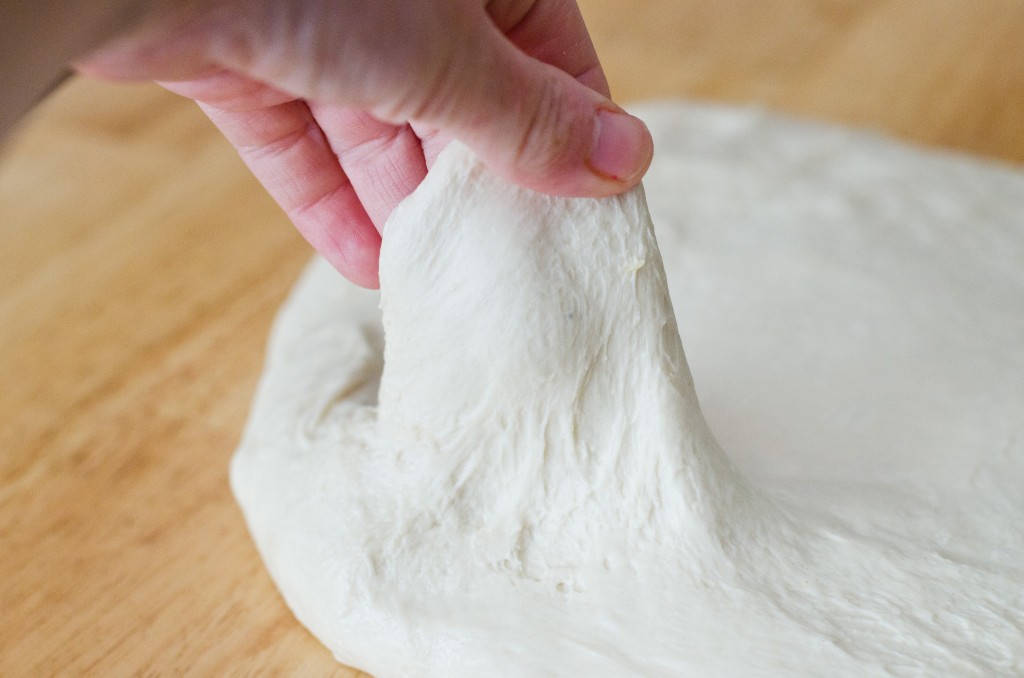
This is what the dough looks like after the completion of all the folding. It is less sticky, very smooth and elastic
I am not getting fully into how I cook the pizza in this post. It will really vary on the equipment you have and on your oven. But I do want to give some great tips I have learned:
1.When stretching out the dough you may get to a point that the dough does not stretch any further- just cover it and let it relax for a few minutes and when you try again it should stretch out for you.
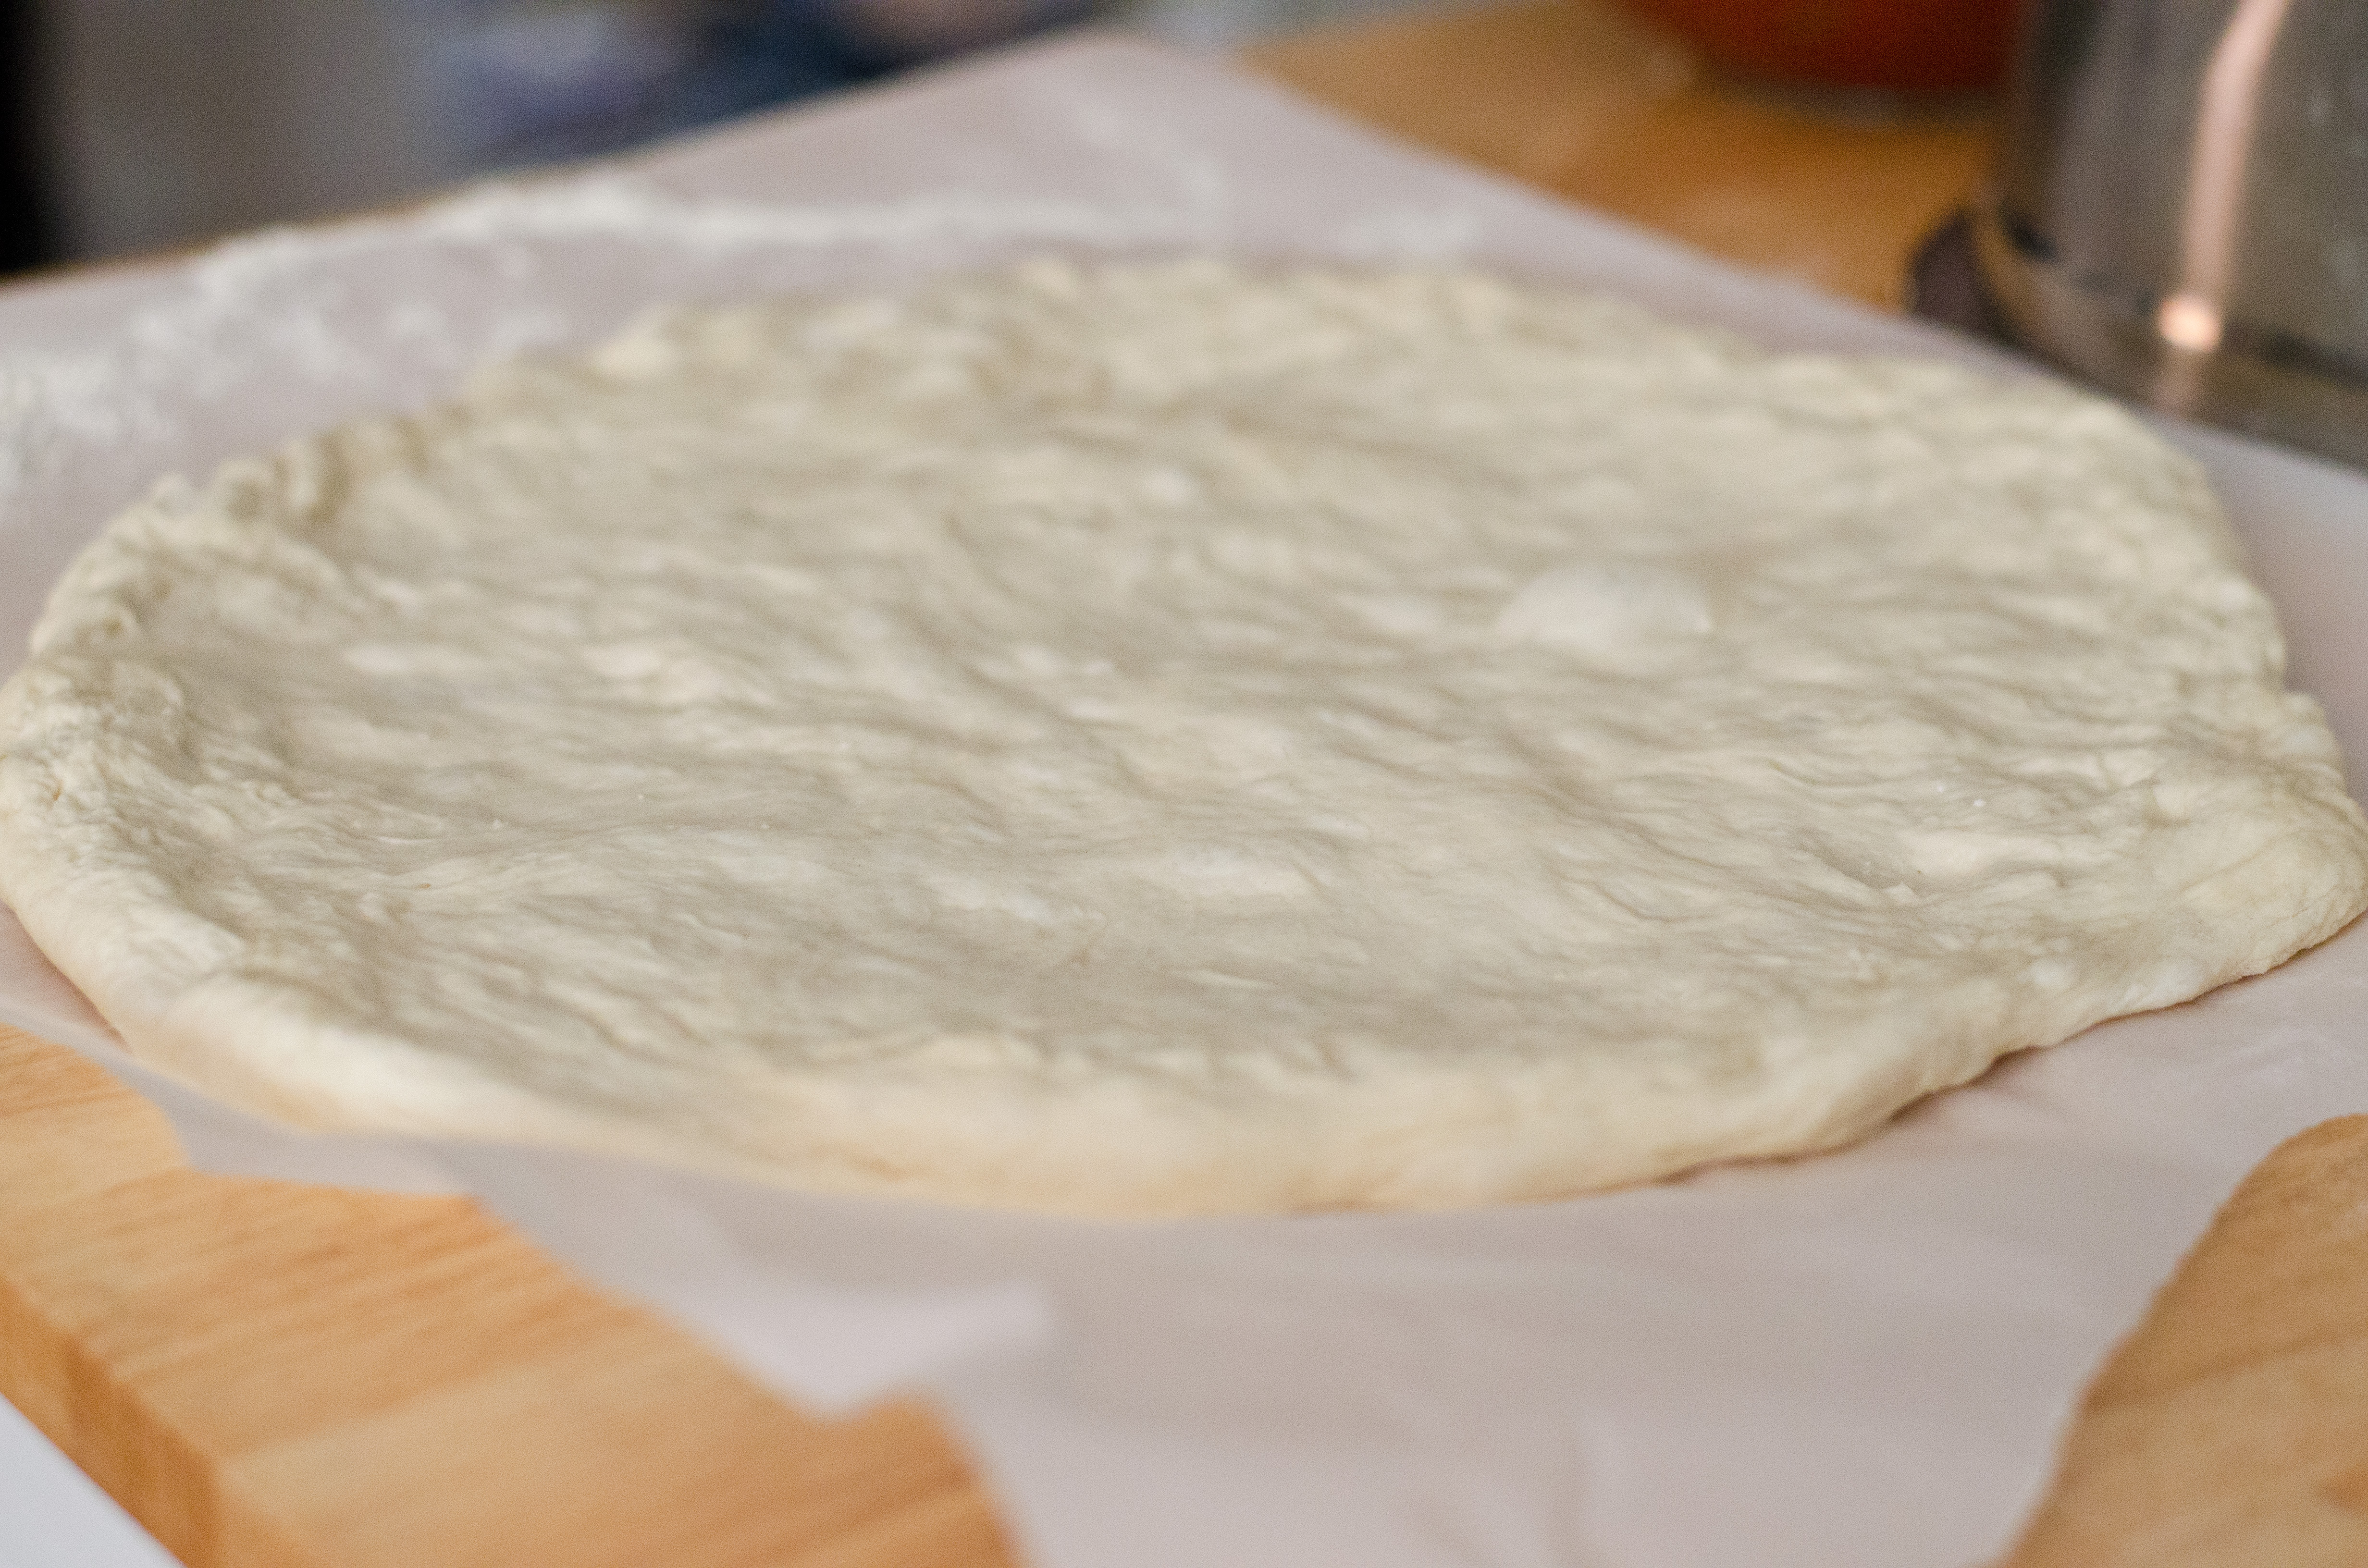
2. I have found that using parchment paper is a lifesaver with pizza. For this dough- it is pretty sticky, I sprinkle flour or cornmeal onto a large square of parchment paper. Then I flour my hands and gently stretch it in my hands first, set it down on the prepared parchment and then push and stretch it out on there until it is about 12 inches. If it is sticking, lift the dough and add more flour under it. Once stretched, add your toppings.
3. I have found for my homemade pizza not to go too thin with the dough- that’s why this recipe is perfect for two 12 inch round pizzas and they are not overly thick at all. If you go too thin, I think because our ovens aren’t as hot as a pizza shop, the crust can get a little soggy especially in the middle since it doesn’t crisp as quickly.
3. I have found for my oven 450 degrees on convection is the perfect temp and I use the rack on the lowest position in my oven. I use a pizza baking stone and place it on the rack while the oven is preheating and even longer to get it nice and hot. My pizza usually bakes in about 8-10 minutes.
4. Since I cook right on the baking stone the parchment comes in handy. You can use a pizza peel or the backside of a cookie tray. Slide the parchment paper with the pizza on it on top of the peel or cookie sheet- then you can easily just slide the pizza and parchment right onto the stone, no worrying about the dough sticking.
The Best Pizza Dough
Ingredients
- 22 1/2 oz or 5 cups of unbleached bread flour plus more as needed
- 2 teaspoons of kosher or sea salt
- 1 teaspoon of instant yeast I use 2 tsp if using dough the same day
- 2 teaspoons of sugar or honey
- 1 Tablespoon of olive oil
- 2 cups of room temperature water if using the same day I will warm the water to lukewarm
Instructions
- If using a stand mixer- using paddle attachment, briefly mix all the dry ingredients together in the bowl then add all the liquid ingredients. Mix on slow speed until all the flour is incorporated and the ingredients are mixed (about 1 minute)
- If mixing by hand- add all dry ingredients to a bowl and quickly stir to mix, add in liquid ingredients and stir until all ingredients are incorporated.
- Let the dough rest for about 3 to 5 minutes (this allows the flour to hydrate). Then mix on low/medium speed for about another minute or you can stir for a couple of minutes by hand. This is the time to check the texture of the dough and add water or flour a little at a time. The dough should be very tacky and slightly sticky when done. In my experience with this dough, depending on weather, I have had to add up to an extra 2/3 cup of flour to achieve the consistency. This still resulted in a very tacky dough. (The dough smooths out by the end of the folding process)
- Rub some olive oil to about 1 foot in diameter on a work surface. Transfer the dough to the oiled surface. Oil your hands a bit and stretch the dough into a large rectangle. You may feel a few lumpy, drier spots- I usually work them in a bit to the dough at this time. Fold the dough in on itself by the folding the short ends in. Then fold the other two ends in- this will form a squarish ball. (see pictures in post for more of a visual on this). Then flip the dough over and tighten it into a ball. Cover with clean kitchen towel and let rest for 5 minutes.
- Repeat the stretching, folding and resting 3 more times for a total of 4 times. After the final folding, place the pizza dough into a large lightly oiled bowl.The dough should be smooth and elastic at this point. Cover the bowl tightly with plastic wrap.
- If you are making the pizza the same day, allow the dough to rise in a warm place until double in size- 1 to 1 1/2 hours depending on the warmth in the kitchen. Then punch the dough down and divide into 2 equal pieces. The dough can be stretched and made into pizza at this point. See blog post for some tips.
- If you are making the pizza another time (it's good up to 3 days), place bowl in refrigerator. Prior to making dough, remove from refrigerator and let dough come to room temperature- at least 2 hours. Then divide into 2 equal pieces and proceed to make pizza! See blog post for some tips.
Notes
For this pretty sticky dough parchment paper is great, I sprinkle flour or cornmeal onto a large square of parchment paper. Then I flour my hands and gently stretch it in my hands first, set it down on the prepared parchment and then push and stretch it out on there until it is about 12 inches. If it is sticking, lift the dough and add more flour under it. Once stretched, add your toppings. The parchment will allow you to easily slide it onto your baking stone too. Adapted from Craftsy
Discover more from Amy Kay's Kitchen
Subscribe to get the latest posts sent to your email.
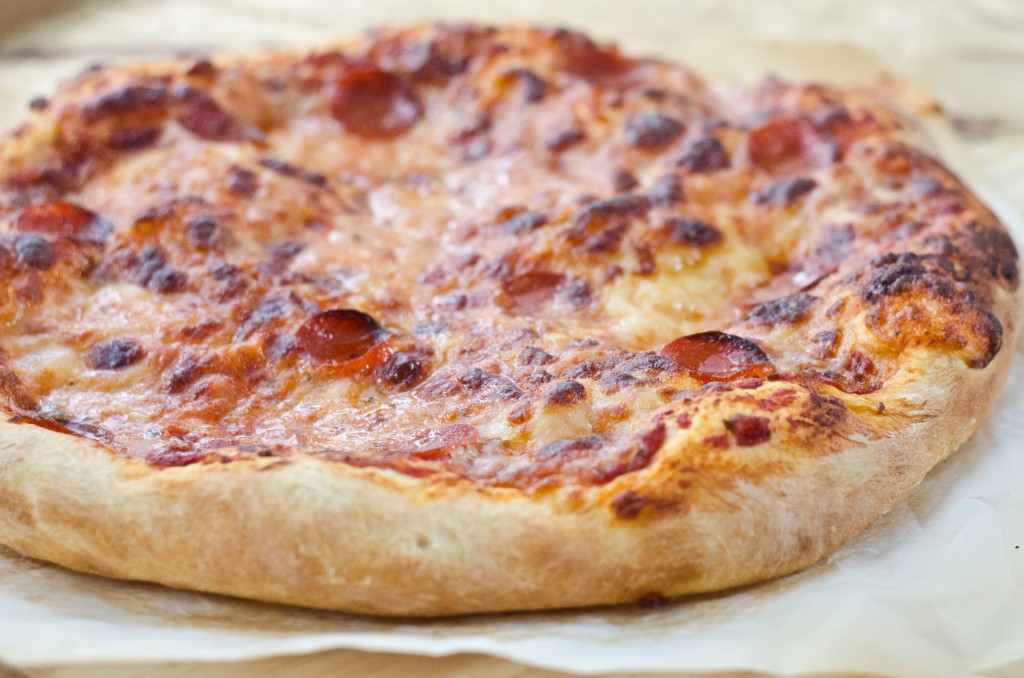
Thanks for the great recipe. We really liked it. However I made 4 pizzas out of 1-1/2 recipes. I like thinner crust better. I also baked the crust ahead of time. I found if you poke holes in the crust before baking it helps control the big bubbles. Also I found that minimizing the amount of toppings helps to avoid a soggy crust when you make it thinner. BTW hope you are doing good with your kids during this crazy pandemic! Best wishes to you and your family!
I’m so glad you liked it! We do like our pizzas thicker and I make them pretty large-so great tips! I have also found that minimizing or precooking toppings Help. Also using a preheated pizza stone- and let it reheat for 5 min between pizza makes for crisp crust.
Can I freeze the dough?
I have never frozen it but I know you can feeeze other pizza doughs. You could probably try instead of putting it in the fridge.
Do you prevake the dough at all or do you just put the toppings on the unbaked dough and cook the whole pizza at once?
I do not prebake- I just do it all at once. I cook it on a really hot pre heated pizza stone at 450. But every oven will vary.
I prepared the pizza dough yesterday and baked it today. My children liked it a lot. Thanks
Thank you. I’m glad you liked it!!
I want to make this pizza dough, but want to try it in my bread machine. Let me know if you think that would work?
You could probably do the initial mixing of the ingredients in the bread machine to get the dough formed. I am not sure how doing all the kneading in there would work out but you could give it a try.