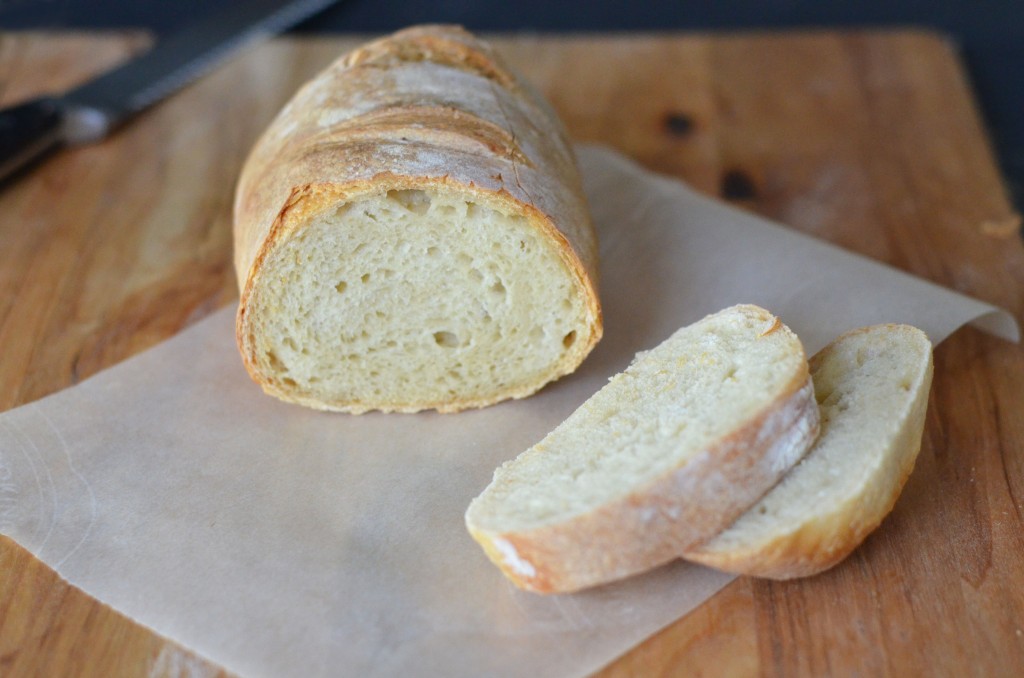
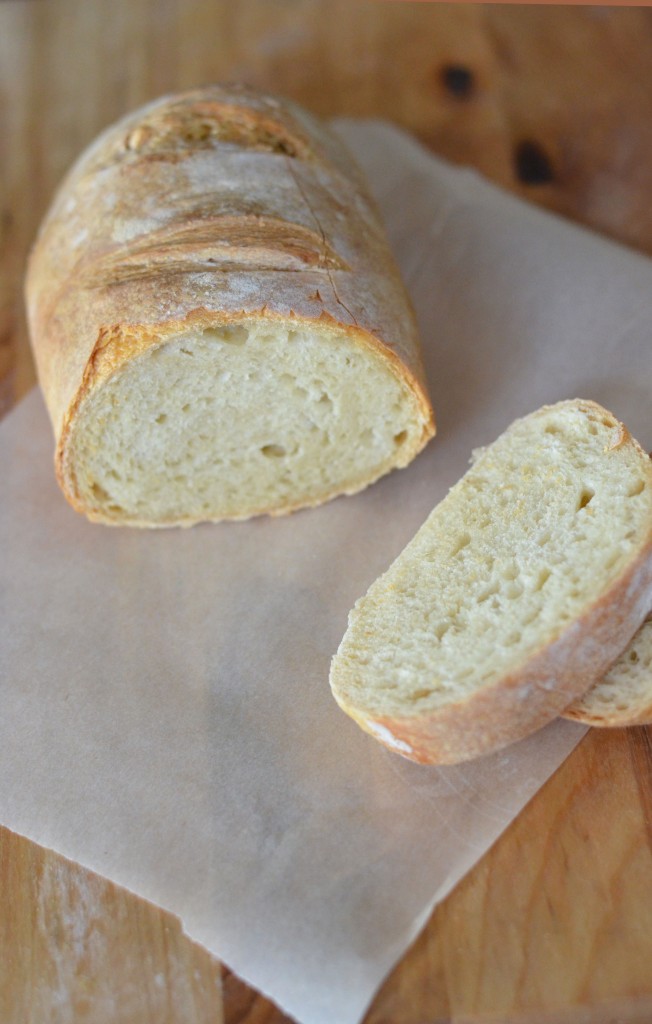
This is a bread that everyone should have in their recipe file. It is delicious, inexpensive and quick and easy to make. I was always intrigued by the no knead bread making methods and this was the first one I tried. I have been making it ever since and have never been disappointed. It’s great because you quickly stir (no kneading necessary) a big batch together, let it rise and then store it in the fridge for up to a week or so. You can just pull out enough dough to make a loaf when you need it. And please don’t be turned away by the lengthy directions below, it really is super simple and once you make it a couple times you probably won’t even need directions. I even included a link at the end of the post to a quick video showing just how easy these steps are.
The dough can actually be used right after the two hour rise, but I highly recommend letting it sit in the fridge for a while. It’s a very wet dough and is much, much easier to work with once chilled. This chilling time also gives the dough a chance to develop more flavor. This dough is very versatile and you can make different size/shaped loaves and even make bread bowls for soup. For bread bowls, just divide the dough smaller and shape into round balls instead of a loaf. And the best part is, once all your dough is used up, just make another batch, no need to wash your container- score for less dishes!
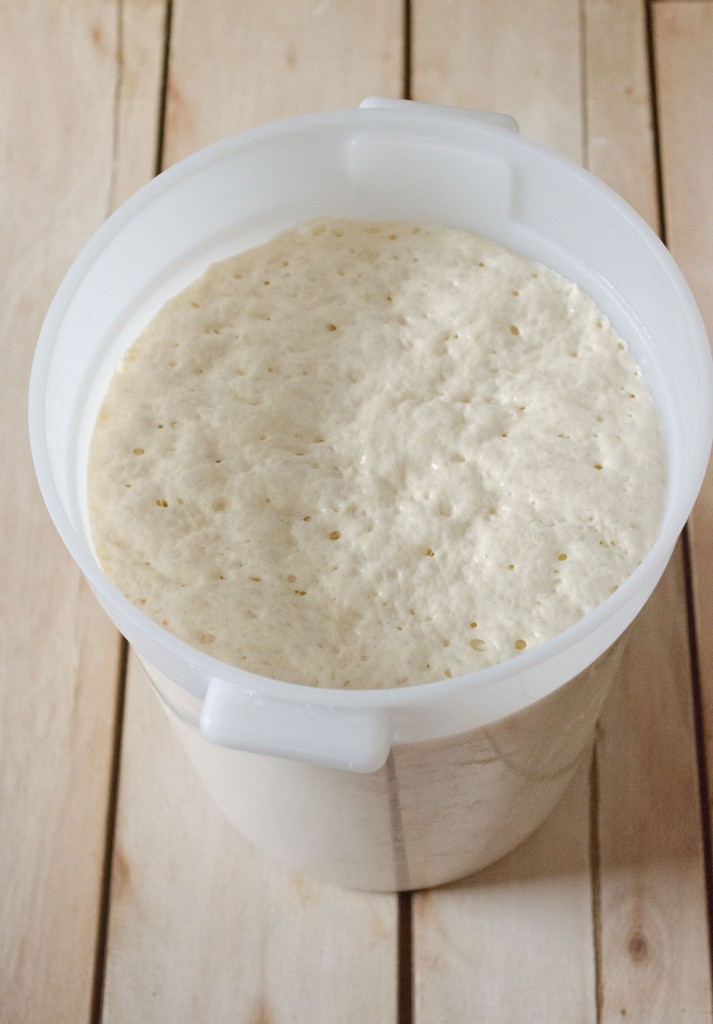
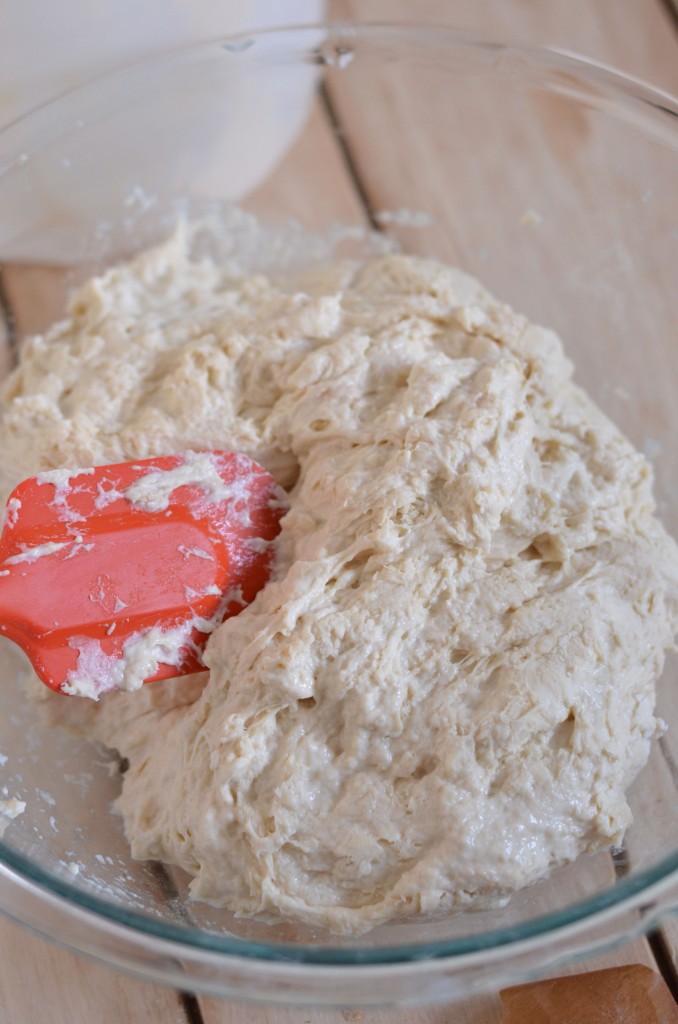
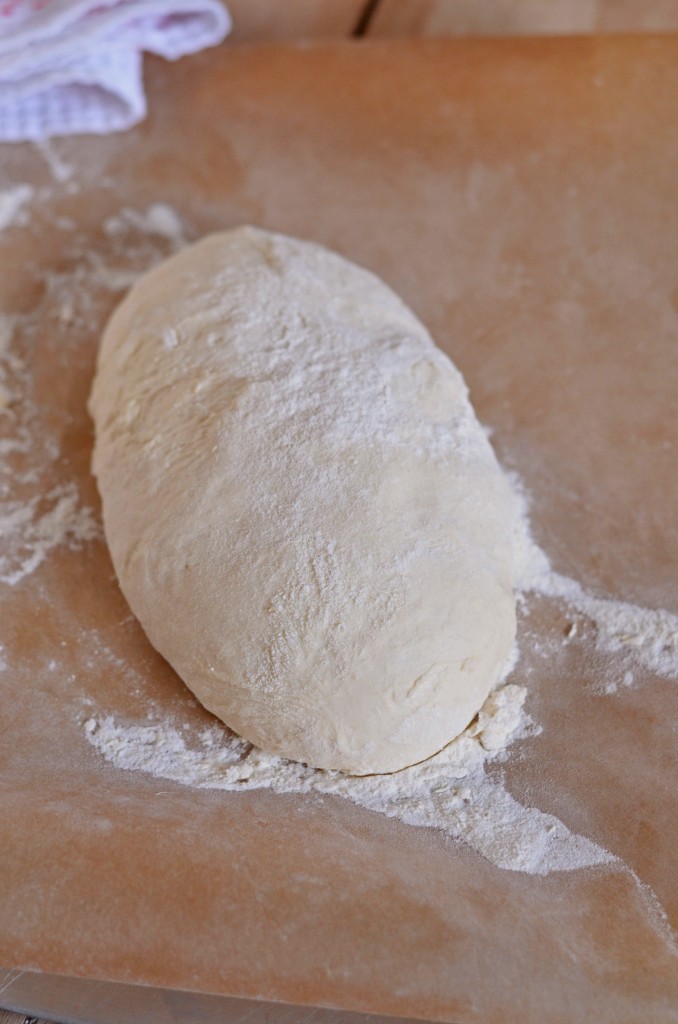
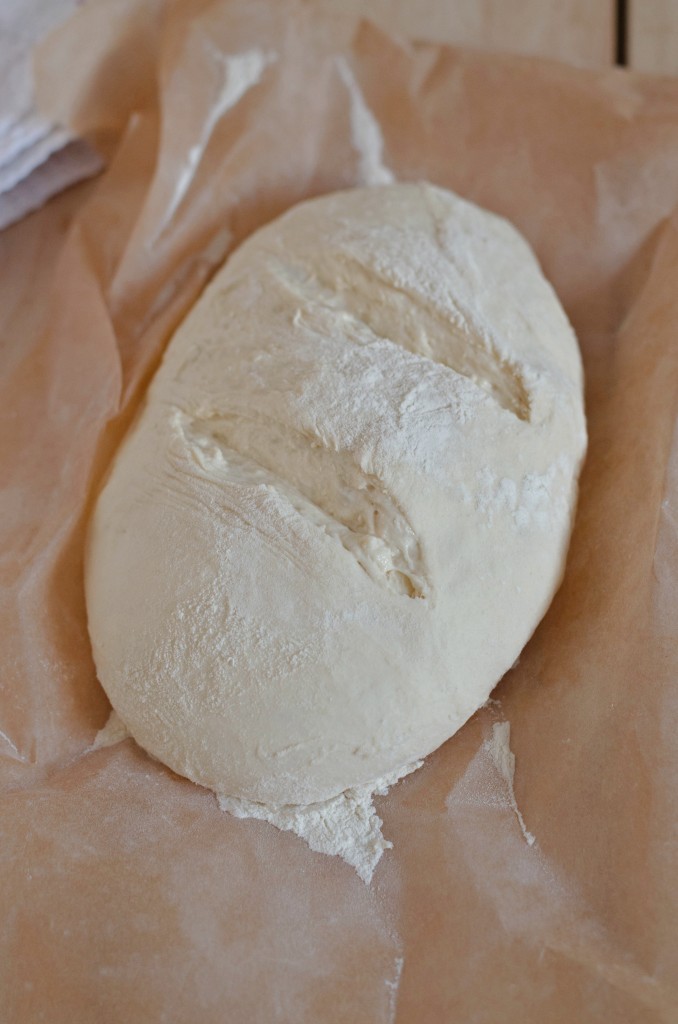
This really is a super easy bread and shaping the dough is probably the hardest part. Here is a quick two minute video tutorial from the recipe authors . It shows the basics of mixing, shaping and baking. Hope you enjoy!

No Knead Artisan Bread
Ingredients
- 3 cups lukewarm water should feel warm to touch
- 1 Tbsp instant yeast or bread machine yeast
- 1 1 /2 tablespoons kosher salt
- 1 Tbsp sugar optional- I like to add this
- 6 1/2 cups unbleached all purpose white flour use the scoop and sweep method here
Recommended Equipment
- parchment paper
- 5-6 quart food container or bowl
- baking stone
Instructions
Making the dough
- Place the warm water in a large bowl (at least 5-6 quarts) or in a large plastic food storage container with a lid. Add the yeast, salt and sugar.
- Add in flour all at once and stir with a wooden spoon. You can also do this in a stand mixer, if you want, and mix briefly to combine ingredients.
- Stir until all the flour is mixed in and you have no dry spots. This a a very wet dough.
- Cover loosely with the lid (don't close all the way tight) or plastic wrap and allow to rise at room temp for around two hours or until it puffs and then begins to collapse or flatten on top.
- You can now use the dough (however, being it is such a wet dough, it is better to let it refrigerate several hours or overnight.)
- Place in refrigerator until ready to use
Shaping the dough
- Place parchment paper on a pizza peel (or use a cookie sheet turned upside down- you want a flat surface so you can slide the loaf and parchment off onto the baking stone).
- Sprinkle some flour on the dough in your container and remove about a 1 lb ball of dough (size of a grapefruit), cutting it with scissors or a serrated knife ( I often just use my hands to pull it apart)
- Coat your hands with flour, so the dough won't stick, and begin to shape your loaf by gently stretching the surface of the dough to the bottom, turning the dough so you stretch all sides. If your hands are sticking, use a little more flour but remember you are not trying to incorporate the flour, you are only using it so your hands don't stick. You use a gentle cupping action with your hands, being careful not to squeeze or over-handle the dough. This should only take about 30 seconds and the purpose of this is to form the gluten cloak so you get a well risen smooth loaf rather than a flat loaf. You are stretching the top layer of dough so it's smooth. If you are having a hard time, let the dough rest for a few minutes and try again. It doesn't matter what the bottom of the loaf looks like as long as the top is smooth
- Place shaped dough on the parchment paper, no need to cover, and let rise for 40-50 minutes during which you should preheat your oven for at least 30 min (see below). Do not be surprised if at the end of the rising time it has not risen much. It is a cold dough and will rise with the heat of the oven.
Baking the dough
- Preheat oven to 450° and place a baking stone on the middle rack. Place a metal pan on the bottom rack (If you don't have a stone, you can bake on the baking sheet. You just will not get as good of a crust)
- Let the oven heat for 30 min. This ensures a good bottom crust by heating the baking stone very well.
- Dust the top of the loaf with flour and score the loaf with 2 or 3 slashes using a sharp serrated knife or razor blade. This is your way of telling the bread where to let the trapped gas out so it won't crack through and deform the loaf elsewhere.
- Slide the loaf and the parchment paper both onto the preheated baking stone in the oven. Carefully pour the water into the pan on the bottom rack and quickly close the oven door. This makes steam in the oven to form a better crust.
- Bake for 30-35 min or until golden brown (cooking time will depend on what size you make your loaf, so keep an eye on it. If you make smaller bread bowls, the time will be less than this)
- Allow the bread to cool on a wire rack. It is easier to cut if you allow it to cool first. Slice with a good bread knife or an electric knife.
- The bread is best eaten the same day, but is good stored at room temperature for a day or two. It can also be frozen and you can thaw slices as you need them.
Dough Storage
- Store remaining dough covered in the fridge for up to 14 days. ( I find I prefer to use it within a week)
Notes
Once you finish the dough, don't wash the container-- just make another batch in it, mixing in the the bits of the previous dough. It will give your new batch more flavor! Adapted from The New Artisan Bread in Five Minutes a Day
Here is that quick video tutorial from the authors of the recipe in case you missed the link above!
Discover more from Amy Kay's Kitchen
Subscribe to get the latest posts sent to your email.
Hi! I’m so excited to try this. I was wondering if you’ve ever used this no-knead dough to make pizza crusts? Thanks!
No I have never tried it but it would probably be worth a try😀
I have never tried it but it would be worth a try!
you have very good recipes – don’t take any off your page. what a great job!!!
Thank you:)