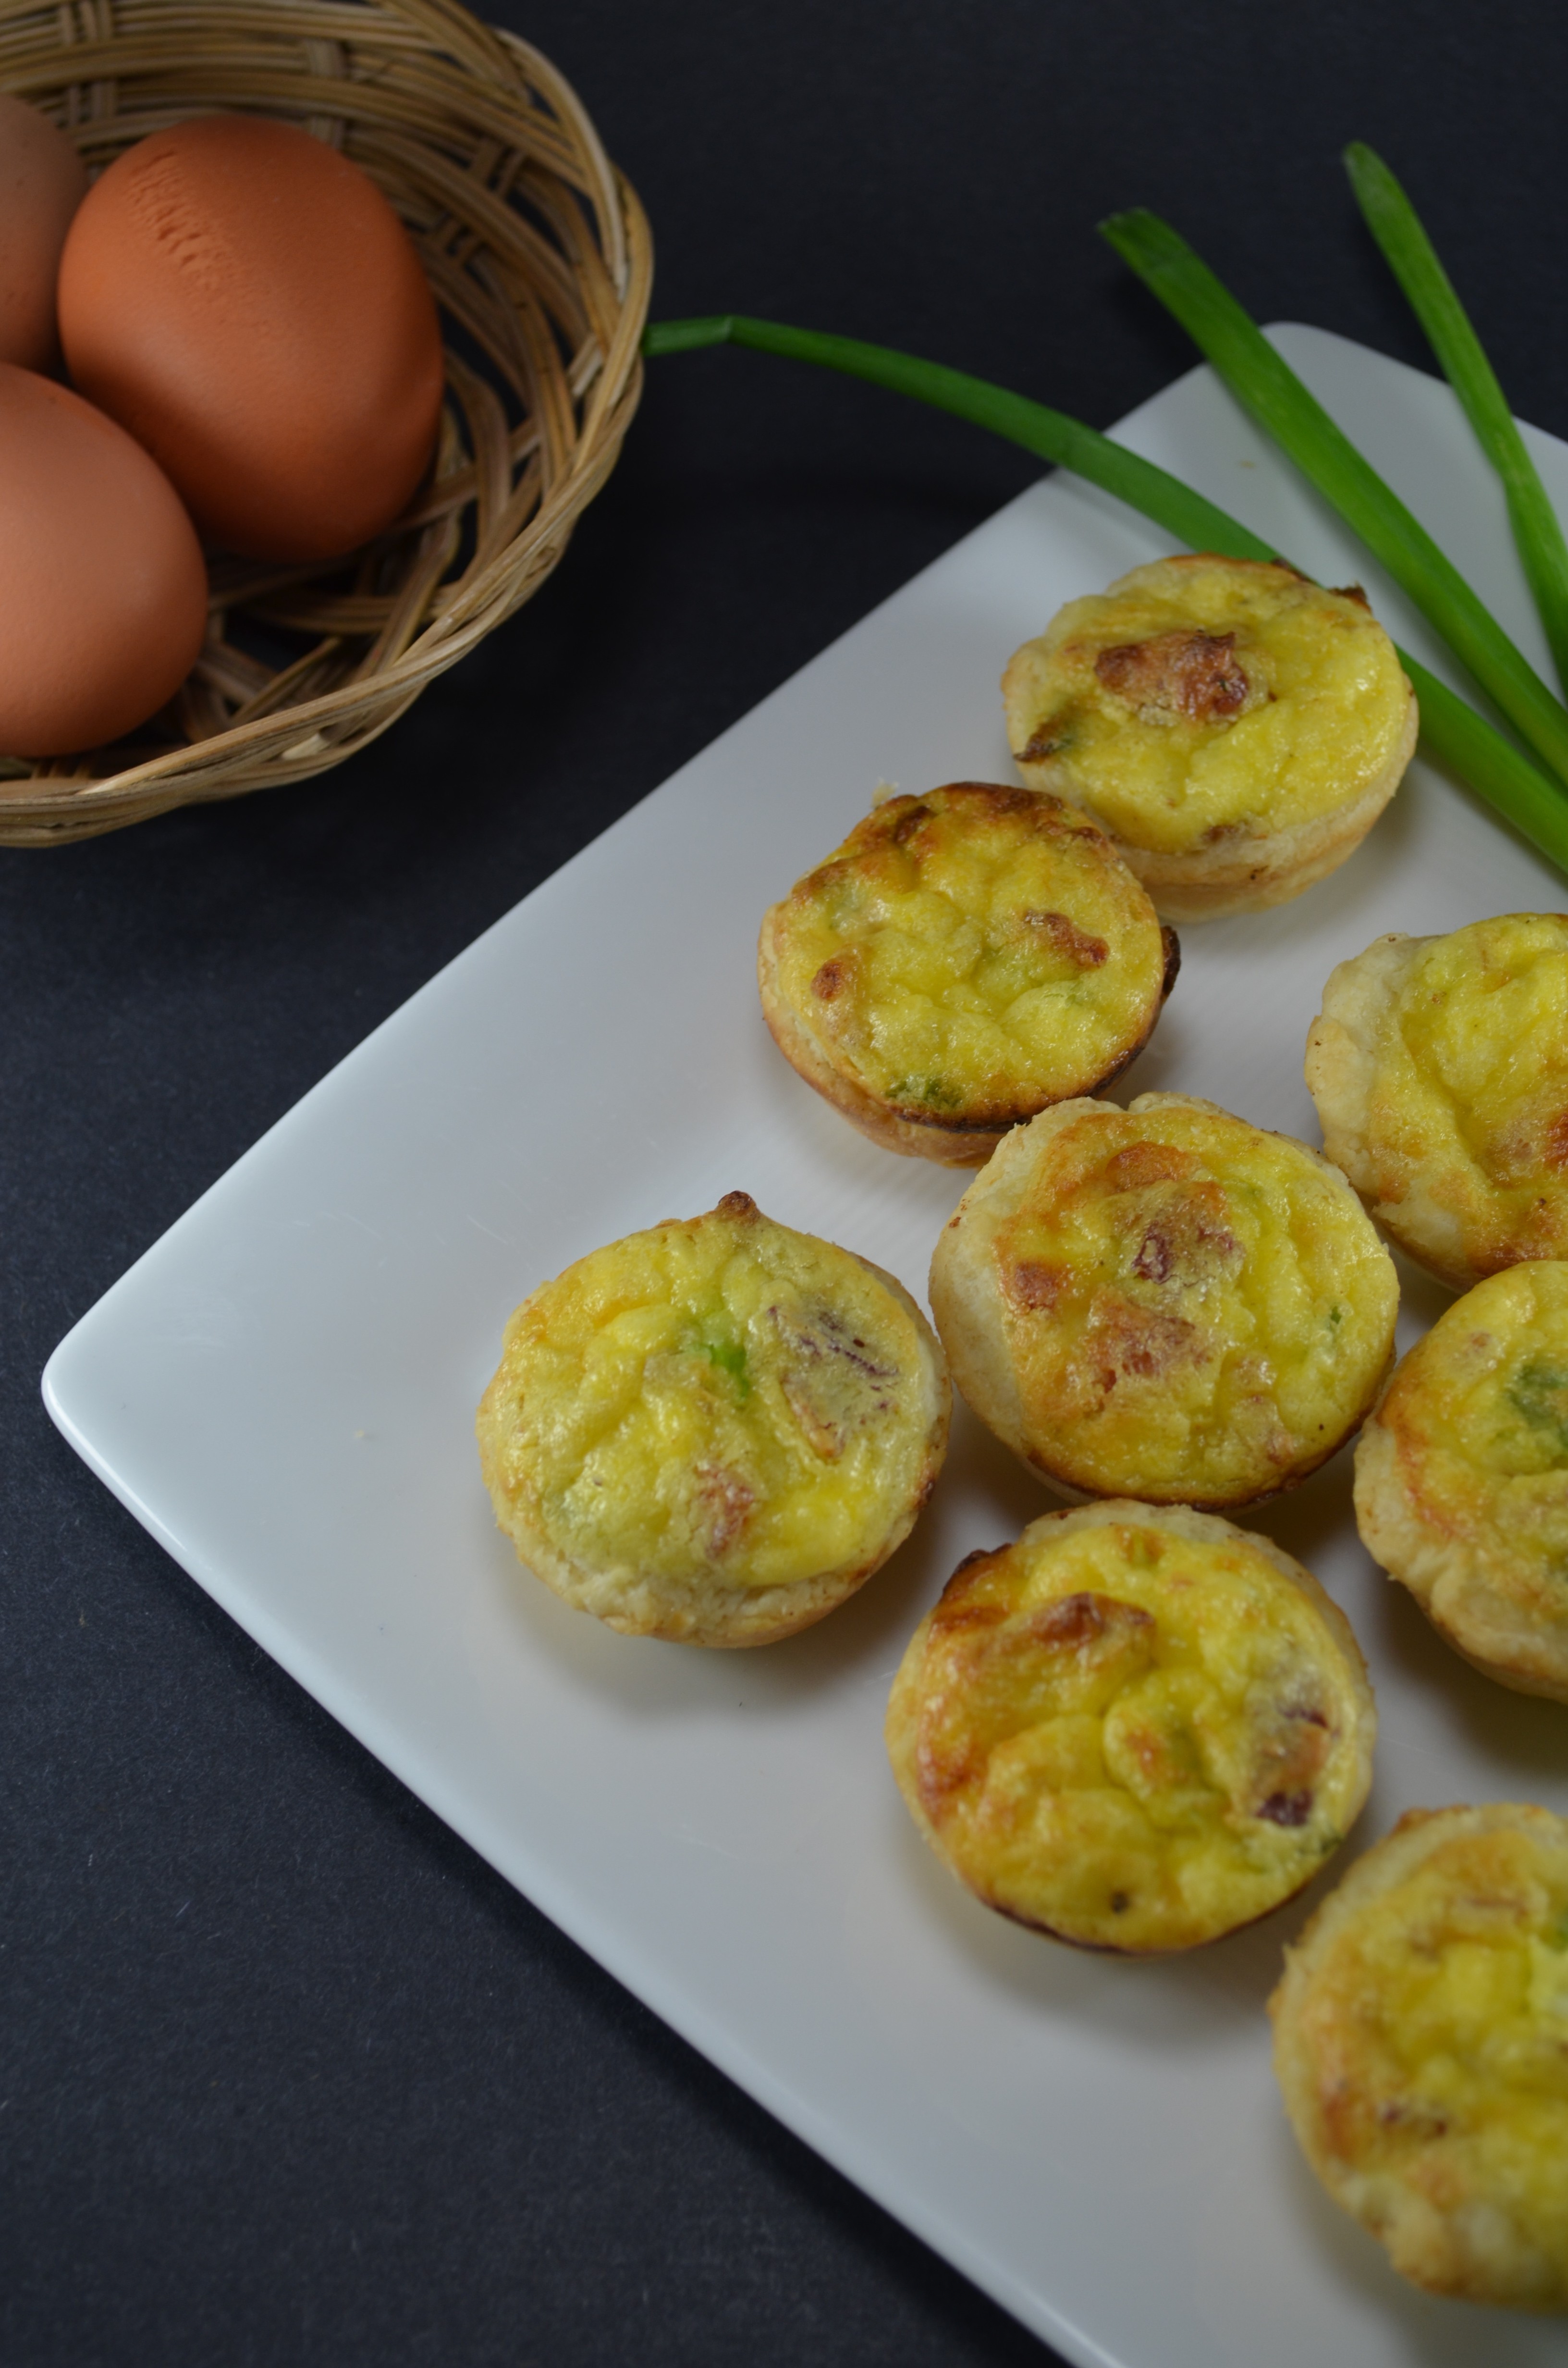
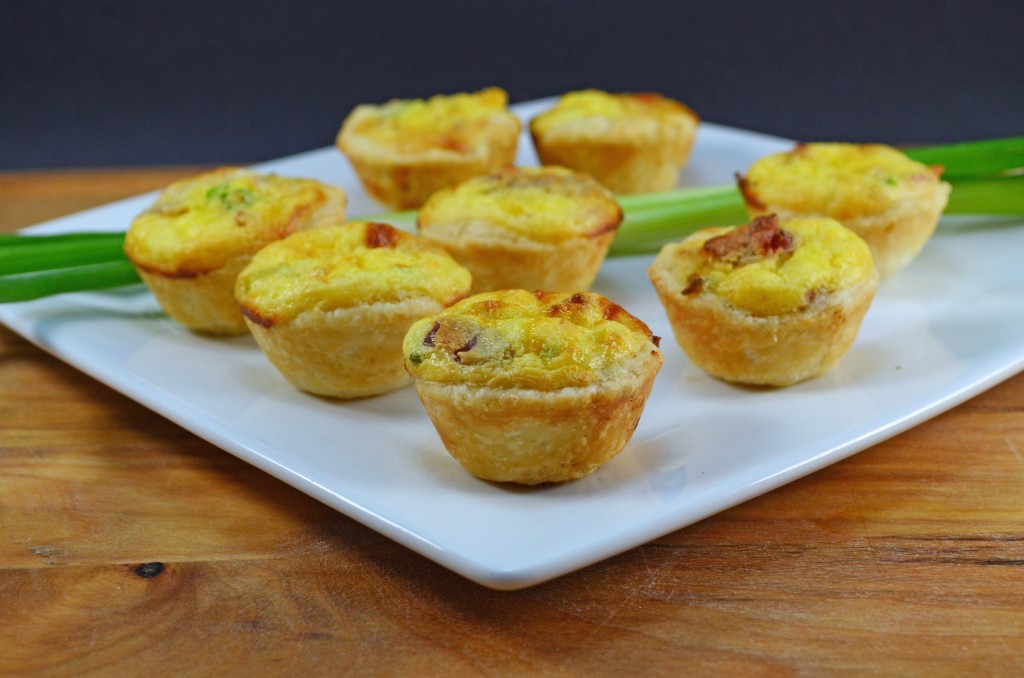
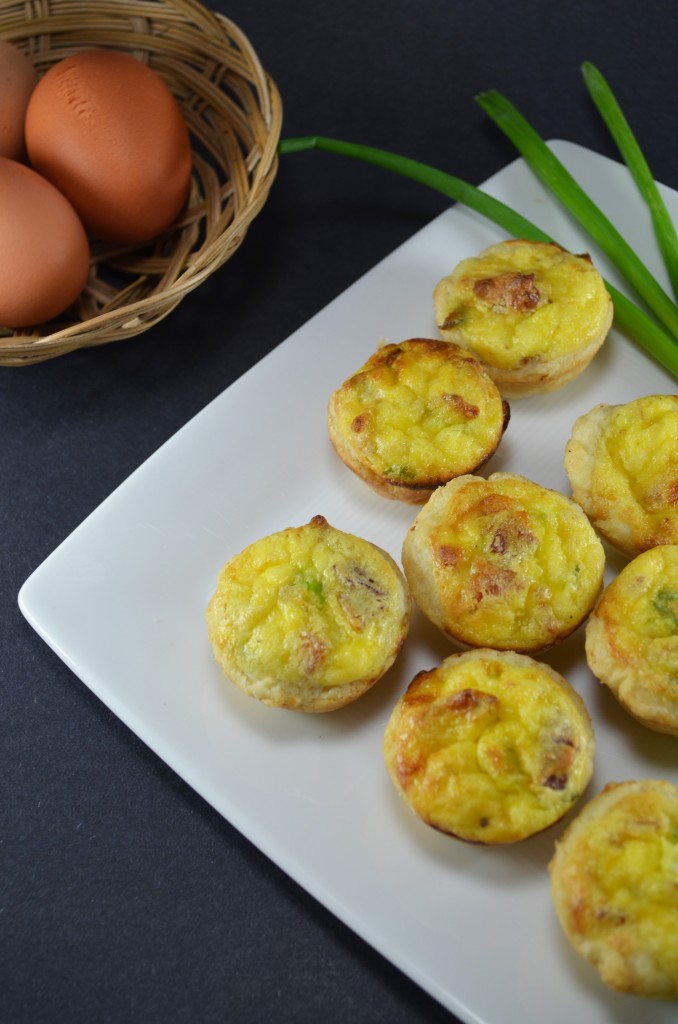
These little babies are amazing. Delicious AND you can make them ahead of time and freeze them. Every year, I host a Christmas Eve gathering for my family that includes a variety of appetizers, finger foods, and a big pot of seafood bisque. I have always found this challenging because, until my kitchen remodel is complete, I only have one oven. I love hot appetizers and dips, but it’s tough to manage several different items because I run out of oven room or need several different oven temperatures. I have come to rely on and love recipes like these mini quiches which can be made ahead, frozen and reheated quickly at whatever temperature my oven is on. They taste just as amazing reheated as when they are first made.
They are great to have on hand anytime for a quick breakfast, lunch, snack or when unexpected company drops by. They go from freezer to table in no time at all. The combination of bacon, ricotta, mozzarella and cheddar is perfect and will please adults and kids alike. In fact, I think I ate way too many before they made it to the freezer 🙂 .

Mini Bacon and Cheese Quiches
Ingredients
- Your favorite pie crust recipe or one of my favorites recipe below
- **A single crust is enough for the 24 mini quiches
- 2 large eggs lightly beaten
- 1/2 pound of bacon cooked crisp and crumbled
- 1/3 cup diced green onions
- 1/4 cup half and half or heavy cream
- 1/2 cup ricotta cheese
- 1/2 cup mozzarella cheese
- 1/2 cup cheddar cheese
- 1/8 tsp pepper
- 1/8 tsp salt
- 1/4 tsp garlic powder
Instructions
- Roll the dough thin (about 1/8 inch thick) on lightly floured surface. Using a 2 1/2 inch round cutter ( I use a glass) cut 24 circles from the dough.
- Press dough into the bottom and up the sides of miniature muffin cups coated lightly with oil or use a non stick mini muffin pan (I haven't had problems with it sticking in mine); set aside.
- In a small bowl, combine the remaining ingredients. Spoon about 1 tablespoon of mixture into each prepared crust.
- Bake in the lower third of a preheated 400° oven for 14-18 minutes or until filling is set. Cool for 5 minutes before removing from pan to a wire rack. Serve warm.
- To Freeze- allow to cool completely and place in large freezer bag and place in freezer. When ready to use remove from freezer and place on baking sheet. Reheat in 350 degree oven (or whatever temp you are cooking other things at) until heated through.
Notes
One of My favorite pie crusts
Ingredients
- 2 ½ cups unbleached all-purpose flour divided
- 1 tsp salt
- 2 Tbsp sugar
- 12 Tbsp cold unsalted butter 1 ½ sticks, cut into 1/4-inch slices
- 1/2 cup chilled vegetable palm shortening, cut into 4 pieces ( I only use palm shortening- much healthier)
- 1/4 cup chilled vodka
- 1/4 cup cold water
Instructions
- In the bowl of a food processor fitted with the metal blade, process 1 1/2 cups flour, salt, and sugar until combined, about two 1-second pulses.
- Add butter and shortening and process until dough just starts to collect in uneven clumps, about 10-15 seconds; there may be small pieces of butter left but there should be no uncoated flour. Scrape bowl with rubber spatula and redistribute dough evenly around processor blade. Add remaining cup of flour and pulse until mixture is evenly distributed around bowl and mass of dough has been broken up, 4 to 6 pulses. Transfer mixture into medium bowl.
- Sprinkle vodka and water over mixture. Using a folding motion, use a rubber spatula to mix, pressing down on dough until dough is slightly tacky and sticks together. Divide dough into 2 even balls and flatten each into 4-inch disk. Wrap each in plastic wrap and refrigerate at least 45 minutes or up to 2 days. It may also be frozen and taken out and thawed in the fridge the day before you need it.
Notes
Discover more from Amy Kay's Kitchen
Subscribe to get the latest posts sent to your email.


I have seen this vodka pie crust recipe before and I have wanted to try it! I just have not committed to making any pies recently (LOL). I’m glad to know that it actually works well! When I read about it, it was all scientific regarding how the vodka (alcohol) evaporates, leaving you with a flaky, tender crust. Now I know it’s true! Also I have never heard of Palm shortening, good to know. This is a recipe I will make, looks good, and I like the fact that you can make it ahead of time. Thanks for sharing all your great recipes!!
Thanks Kara! This is a really good recipe and the crust is surprisingly good. If I have leftover vodka from making vanilla extract, this is the one I make.