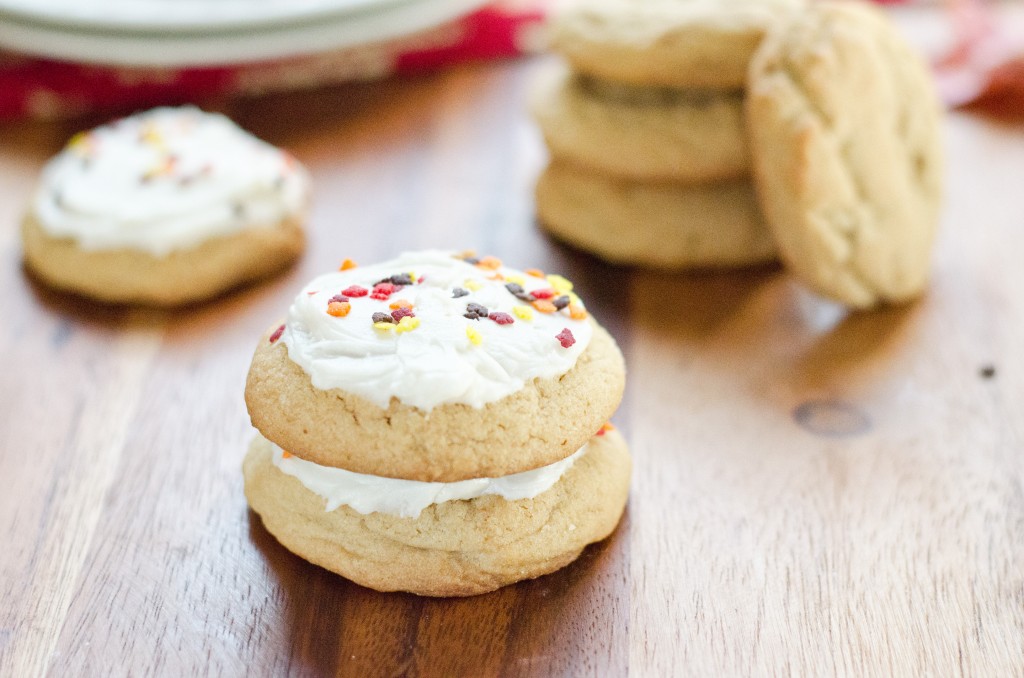
I don’t know why but fall just makes me think of foods like pumpkin, apples and maple syrup. I love maple syrup for breakfast all year long but there is something about the fall that makes me think of it for baked goods. I was really excited to try this recipe out when I first saw it and with a few tweaks to suit my family’s taste, they were perfect. These cookies are super soft and are great with or without the maple icing.
The only thing with making these is to test the batter for the maple flavoring- the original recipe called for less then I am including but I am sure it depends on what brand of maple flavoring you are using. I use Cook’s Pure Maple Extract and use 2 to 3 tsp in these cookies. So just add more or less to your liking. Also, don’t skip the refrigeration on the dough- it really helps them to cook up thick and soft. Overnight is best but at least a couple hours.

Maple Brown Sugar Cookies
Ingredients
For the Cookies
- 1 cup bread flour
- 1 cup all-purpose flour
- 2 teaspoons cornstarch
- 1/2 teaspoon baking soda
- 1/4 teaspoon baking powder
- 1/2 teaspoon salt
- 12 tablespoons (1 and 1/2 sticks unsalted butter, softened)
- 3/4 cup dark brown sugar packed
- 1/2 cup light brown sugar packed
- 1 large egg
- 1 teaspoon vanilla extract
- 1 to 2 1/2 teaspoons maple extract slowly add to taste in 1/2 teaspoon increments (I use 2 1/2 tsp of the brand I have)
For the Maple Icing
- 4 Tablespoons butter softened to room temperature
- 1 cup powdered sugar
- 3 Tablespoons maple syrup
- 1/2 teaspoon vanilla extract
Instructions
- In a medium bowl, whisk together bread flour, all purpose flour, cornstarch, baking soda, and salt; set aside.
- With a mixer cream the butter and both brown sugars on medium speed until light and fluffy, about 3 minutes with a stand mixer. Scrape down the sides of the bowl then add the egg, vanilla and maple extract and beat until well combined, taste and add additional maple extract as desired. Slowly add the flour mixture and mix just until incorporated.
- Using a 2 Tablespoon cookie scoop, scoop a level scoop of batter and gently roll into a ball. Place on a large plate (line with parchment if you don't want them to stick at all), cover with plastic wrap and refrigerate for a minimum of 2 hours up to 3 days. I recommend at least overnight refrigeration for the puffiest cookies.
- Preheat the oven to 350 degrees. Line 2 large baking sheets with parchment paper or silmats
- Bake cookies, one sheet at a time, until just barely golden brown around the edges, about 9 to 11 minutes.
- Allow to cool on pan for a minute or two and then transfer to cooling racks to completely cool. Note***** If you want the crackled top look on your cookies - when you remove them from the oven if they are still domed then gently tap with the back of the spoon to flatten a bit. I don't do this as I like my cookies puffy for icing.
For the icing
- In a small bowl; Blend the softened butter, maple syrup, vanilla and powdered sugar together with the back of a spoon by pressing and combining until sugar is incorporated then stirring well until no lumps remain (or use a mixer- i just don't like to dirty more dishes!). Add additional maple syrup or confectionery sugar to desired consistency.
- Spread icing on cooled cookies
Notes
Discover more from Amy Kay's Kitchen
Subscribe to get the latest posts sent to your email.

