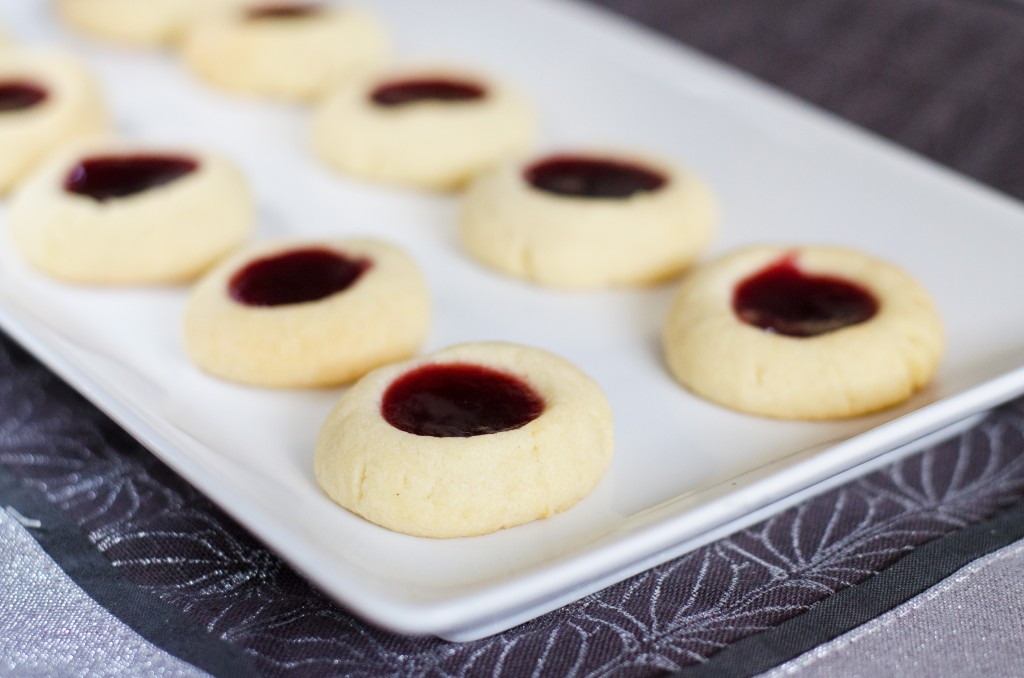
Here is a great cookie to add to your Christmas cookie baking. They taste amazing and look great on any any cookie platter with the beautiful red centers. Or they are great for breakfast (ahem, ahem) with some coffee, as I accidentally discovered while taking pictures of them in the quickly clouding over sunshine one morning.
I love these thumbprint cookies! The buttery cookie base has lemon zest added to it which really compliments it and goes so well with the raspberry jam centers. Of Course you can use other flavor jams to create different flavors and colors in the cookies, but raspberry is my favorite.
These cookies are actually quite easy to throw together and don’t take very long at all. The dough comes together quickly, then you just roll them in small balls. I know that they are called thumbprints, and yes, you can use your thumb to make the indent; however, I have found that using the back of a rounded 1/4 or 1/2 teaspoon works perfectly every time. Then you just bake, cool, and fill with jam. I found the easiest way to accomplish the filling is to heat the jam in the microwave until thin and simmering. Then it is super easy to fill the centers and they set up really well. These cookies keep well for several days, if they last that long. They are a teensy bit crunchy at first, but soften nicely after a day.

Lemon Raspberry Thumbprint Cookies
Ingredients
- 1 cup unsalted butter
- 1 cup granulated sugar
- 1 tablespoon grated lemon zest
- 1 teaspoon vanilla extract
- 1/2 teaspoon salt
- 1 large egg
- 2 3/4 cups Unbleached All-Purpose Flour
- 1/2 cup raspberry jam
Instructions
- Preheat the oven to 350°F. Line 2 large baking sheets with parchment paper.
- In the bowl of a stand mixer or using a hand mixer, beat the butter, sugar, lemon zest, vanilla, and salt until very light and fluffy, about 3 to 4 minutes.
- Beat in the egg until well combined. Stir in the flour until thoroughly mixed in.
- Scoop about 1 heaping teaspoon batter for each cookie or use a teaspoon cookie scoop. Roll each scoop into a ball in your hands and place on cookie sheets about 2 inches apart. ( If you want larger cookies use a Tablespoon cookie scoop or a heaping Tablespoon).
- Using your finger tip (or thumb for larger cookies) press an indentation into the center of each cookie ball. I also find that using the back of a more rounded 1/4 teaspoon measuring spoon works well on the cookies (a 1/2 or 1 teaspoon spoon would work for larger cookies).
- Bake cookies in preheated oven for 12 to 14 minutes. They will still be soft and not browned on edges.
- Allow to cool on sheet for a few minutes and remove to cooling rack to cool completely.
- Once cooled, heat jam in microwave until thin and liquid and just simmering. This takes me about 45 seconds to 1 minute. Using a spoon, fill the indentations with the jam. Allow to rest until jam thickens and sets up.
Notes
Discover more from Amy Kay's Kitchen
Subscribe to get the latest posts sent to your email.


Made these tonight. Very yummy and a hit!
I am glad you guys liked them- I think they taste even better the next day if there are any left 🙂