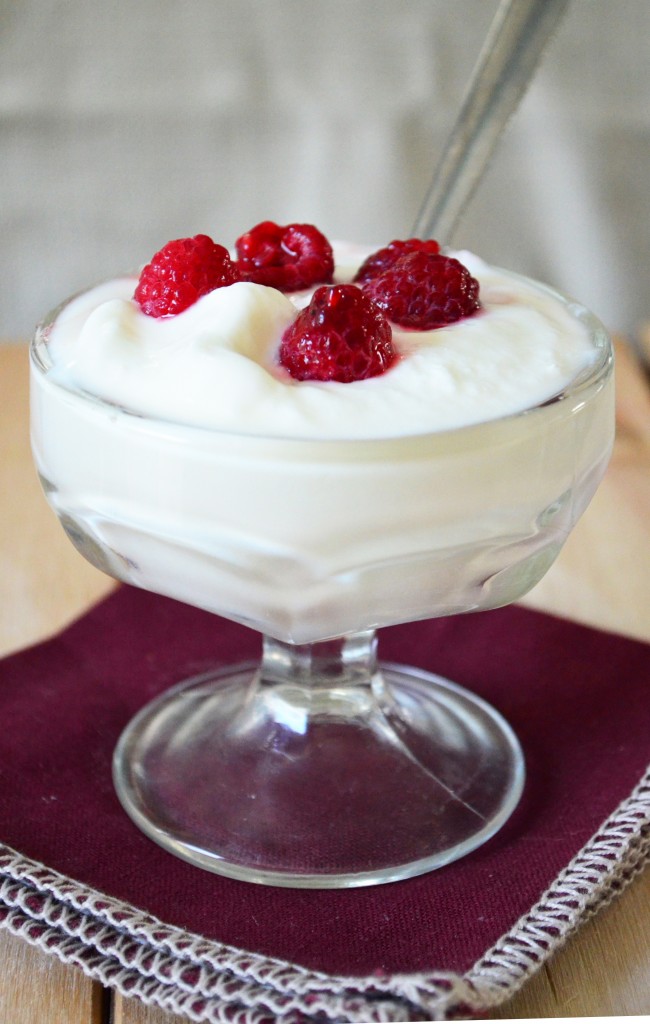
Here is a great recipe to start the New Year with. Homemade Yogurt that can either be made smooth and creamy or, with one extra step, into thick greek style yogurt. It is super healthy and full of that good bacteria that helps keep the digestive system working right, making it good to keep on hand for healthy eating. And if you are already a yogurt lover, making your own can save a ton of money. You can start off making a gallon of creamy style yogurt for the cost of a gallon of milk and one small container of yogurt. Your next batches are even cheaper because, yes, you can use your homemade yogurt to make more yogurt. If you decide on greek yogurt, you will have to drain some of the whey out of the yogurt and this will yield less than a gallon of yogurt. However, there are many uses for whey- I have used it in soaking grains etc- just do a quick internet search if you want to find ways to use it.
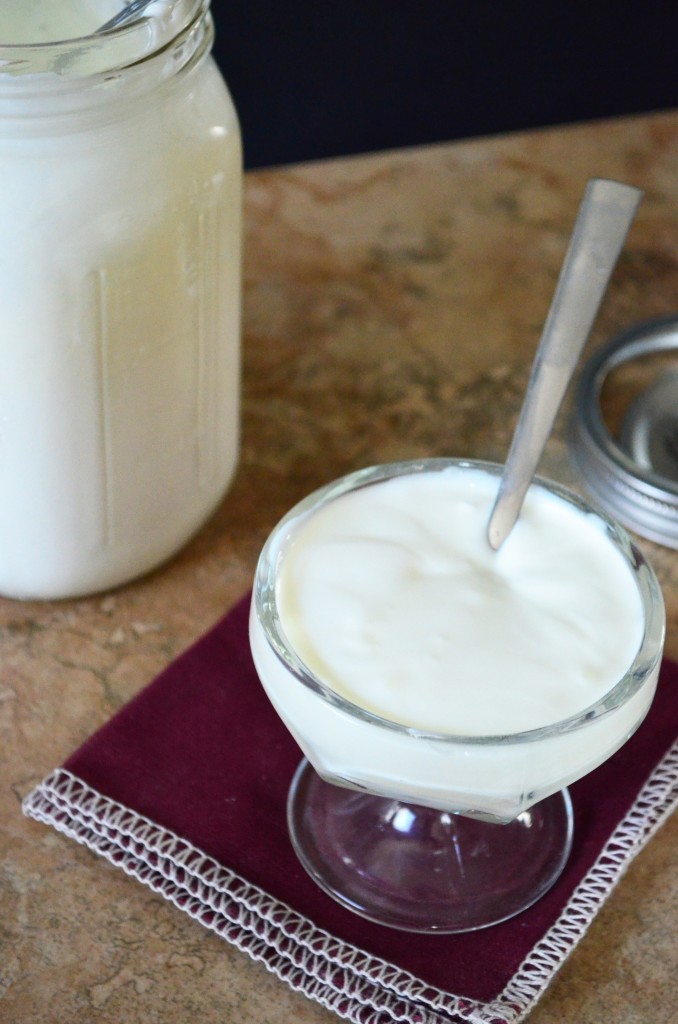
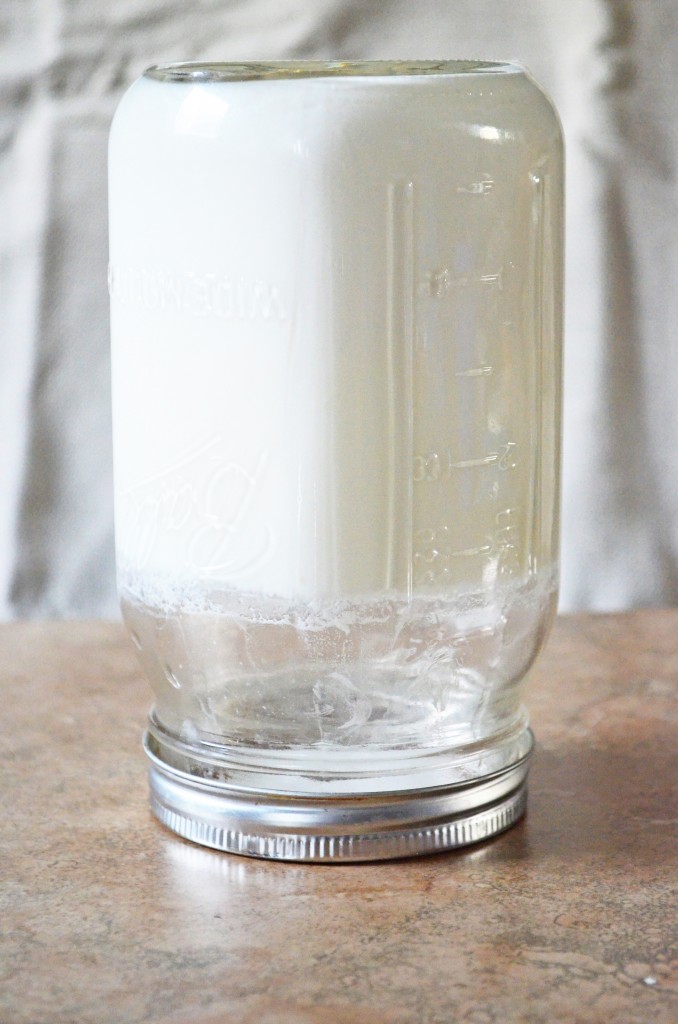
I have been making my own yogurt for some time now and initially started out using the oven method to culture the yogurt. It worked, but not as consistently as I would like. I often had batches that were too runny and always had to drain some whey off. I also did not like the fact that I had to heat and cool the milk close to the time I was getting my kids and myself ready for bed. I always try to be done with work by then. So, I gave the cooler method a try and was hooked instantly. Just look at the picture below at how thick the yogurt comes out even without straining some whey out. It is perfect for eating or mixing in smoothies!
Another reason this method is great is that I can start it earlier in the evening, place the jars in the cooler and forget about it until the next morning! I also love that the yogurt is cultured in mason jars and can just be put right in the fridge for storage. It keeps for a long time too- I have had some in the fridge for a month and it has been fine- just use your judgement!
**********I am not sure where I was originally inspired to make my own yogurt but I know this recipe is a mix of several that I have come across and from my own experimenting. I have been making it for a while and do not remember -but thank you to all who share so we can be inspired and learn! There are a vast amount of resources out there on this, so try and use the method that works best for you- it is a great way to save money!

Homemade Yogurt
Ingredients
- 1 Gallon minus 1 cup of Milk I always use whole milk- no low fat in this house
- 1 4 to 5 ounce container of plain yogurt or 1/2 cup
Equipment needed
- instant read thermometer
- 4 quart size canning jars cleaned well
- 3-4 jars can be any size, old sauce jars etc. or additional canning jars
- Cooler large enough to hold all the jars
- Wide mouth funnel optional but makes life easier
- For greek yogurt you will need cheese cloth and a fine mesh strainer
Instructions
- In a large saucepan, over medium to medium high heat, heat milk to 180°F, stirring occasionally to prevent scalding.
- Remove pan from heat and allow to cool, stirring occasionally until the milk reaches 110° to 115°F on the instant read thermometer. This temperature range is important to properly incubate the bacteria so you will get thick yogurt.
- Place the store bought yogurt into a small bowl and ladle about a cup of the warm milk onto it. Gently stir, just a couple of quick stirs- You don't want all the yogurt mixed in.
- Then pour the yogurt/milk mixture back into the pan with the warm milk and give it a few gentle stirs (once again, clumps of yogurt are fine).
- Ladle the mixture into the 4 clean canning jars and close tightly.
- Fill the remaining jars with hot tap water and close tightly. Place the yogurt and water jars all in the cooler and close the cooler. Depending on the size of your cooler, you may want to add an extra jar or two of hot water help keep it warm. (my cooler is just big enough to hold 4 yogurt jars and 4 small water jars)
- Leave it alone for 12 hours up to 24 hours. After this time, you should have thick creamy yogurt.
- If you want greek style yogurt you will have to go one step further. Place a layer of cheese cloth in a fine mesh strainer and place the strainer over a bowl. Place the yogurt in the strainer and allow to sit (in the fridge) for several hours or until desired consistency is obtained. You can save the whey (the clear liquid that is released) for another use or discard.
- Sweeten the yogurt to taste. Maple syrup is great for this! Add in whatever you like-some ideas- vanilla, peanut butter, jam, fresh fruit, granola, chocolate chips, caramel and apples.
Notes
Discover more from Amy Kay's Kitchen
Subscribe to get the latest posts sent to your email.


i’d like to make my own. looks easy!
It is actually pretty easy and saves a lot of money. Especially for my family of 6- we go through a lot.